e This Code:
Saturday, July 23, 2011
Black Pencil Skirt
This is the other skirt that I made this week. I love it!!!! Every girl should have a good simple pencil skirt. I made it out of my favorite black stretch twill. This fabric is the best of both worlds. Stretch for comfort and structure all in one. I can dress it up or dress it down. I seamed it with princess seams for a good fit and I got the fit that I wanted. It is nice and slim through the waist and follows my curves but it is so comfortable! I know I will be wearing this at every opportunity.
Thursday, July 21, 2011
How To- Wide Hem on a Circle Skirt
So I am making a circle skirt. I used the Linda pattern on Burdastyle. You can get yours here http://www.burdastyle.com/patterns/linda. For $2.50 it is a great pattern to have in your stash. This is my first time making the pattern so it is trial and error. This pattern however is extremely easy to make! I didn't make the lining and I considered underlining it but decided against it. So when it came time to hem the skirt I hit a road block. Hemming a circle skirt takes a little bit of know how. There are a few ways to do it and I had to decide How I was going to do it. I had my heart set on a wide hem. I decided on a 1 inch hem . This is particularly hard because of the fullness at the bottom of the skirt. There are other ways to hem a circle skirt. Gertie has a couple of videos up on you tube and on her blog about how to do a narrow hem on a circle skirt. I would say that this is the most common hem for a circle skirt because it avoids a lot of issues with the fullness when done the way that Gertie shows you. You can find her way here. http://www.blogforbettersewing.com/2010/01/hemming-circle-skirt-part-one.html and part 2 is there as well you just have to click on the link to it at the bottom of her post. The next way to hem a circle skirt is to face it. You make a facing using the bottom of the skirt pattern and face the hem of the skirt, simple. Then the next option is to bind your hem with bias tape, this can be packaged bias tape that matches your project or bias tape you made from the same project fabric. Now To achieve the wide hem on my skirt I had to ease the fullness by gathering the bottom of the skirt slightly, pressing, and then hemming. So this is a tutorial on what I did. I am happy with the results. This was my first time doing it so I'm sure that next time I will do it better. The results are not perfect but close enough for me! I hope this helps any of you who might need it.
So here is the skirt hanging on my dress form. You should let the skirt hang for a couple of days to allow the fabric to drop to it's final position. Then you mark your hem. There are a few ways to do this. I use the hem measuring tool on my dress form.
Then I took Gertie's advice and I marked my wall even with my measurement and I checked my measurement all the way around the bottom of the skirt to make sure I marked it correctly.

With my pins in the skirt and them hem all marked with the pins I took the skirt to my sewing machine.
I lowered the tension on my machine and increased my stitch length up to 5 which is the highest my machine will go. I then gathered around the whole bottom of the skirt. There is alot of fabric here so I suggest sewing your gathering stitches in 4 sections to make it easier to gather. You don't have to gather it tightly, just enough to ease in the fullness.

Then you will take the skirt to your ironing board for pressing.

Fold up your hem that you marked with your pins, and press. Remove your pins as you go and put them back in higher up to hold in the fullness that you gathered and pressed.

The very bottom edge of the pressed hem will be nice and smooth and the top of it ( which is the raw edge of your skirt ) will be slightly gathered.

Then take your skirt back to your machine and sew your hem. I increased my stitch length for this to 3 just to make thing run smoothly since there is extra fabric gathered on the inside. I hemmed from the wrong side of the skirt to keep an eye on keeping the eased fullness laying flat on my machine. I used the measurements on my machine to make sure that the hem was an inch deep all the way around. When I was done I pressed the hem again.

And this is the result that I got. Not too shabby! All in all it was an easy process. Easing in the fullness at the bottom of a circle skirt is similar to easing the fullness in a sleevecap. Just slight gathering and your home free.
Some more pics of the final result. I will put up pics of me in the skirt after I wear it this weekend.
With my pins in the skirt and them hem all marked with the pins I took the skirt to my sewing machine.
Then you will take the skirt to your ironing board for pressing.
Fold up your hem that you marked with your pins, and press. Remove your pins as you go and put them back in higher up to hold in the fullness that you gathered and pressed.
The very bottom edge of the pressed hem will be nice and smooth and the top of it ( which is the raw edge of your skirt ) will be slightly gathered.
Then take your skirt back to your machine and sew your hem. I increased my stitch length for this to 3 just to make thing run smoothly since there is extra fabric gathered on the inside. I hemmed from the wrong side of the skirt to keep an eye on keeping the eased fullness laying flat on my machine. I used the measurements on my machine to make sure that the hem was an inch deep all the way around. When I was done I pressed the hem again.
And this is the result that I got. Not too shabby! All in all it was an easy process. Easing in the fullness at the bottom of a circle skirt is similar to easing the fullness in a sleevecap. Just slight gathering and your home free.
Some more pics of the final result. I will put up pics of me in the skirt after I wear it this weekend.
Monday, July 18, 2011
What I Did This Weekend
Happy Monday yall! I had a super busy weekend, very productive. I am a jack of all trades, master of........some. First and foremost I will start with a bit of what I sewed up this past week. I was not feeling so well through out the week but I was able to whip up this quick shirred summer dress for my Sissy! It is pink gingham, which she requested. She just had a baby and needs some new clothes and these little shirrred numbers are so effortless for the summer and really it only took about 2 hrs total cutting and sewing time. I cut my fabric wider at the bottom and slimmer in the bust instead of two rectangles, I guess they would be trapezoids....does that make sense? This makes the dress have a nice full skirt that twirls, and makes your waist look smaller!
Then I was Lucha the car detailer for the rest of the weekend. My hubby's birthday is coming up and as a gift this year instead of giving him some random electronic gadget, I made over his truck! Now I know what you are thinking, sounds a bit, odd. It really was quite a simple process, just labor intensive, and my arms feel like they are going to fall off! In total, I painted his grill black, from the plain metal color that it was. I tinted his back lights with night shade paint, I painted his rims black and trimed the with red pinstripe tape, and pinstriped the whole truck down the sides. Told you, jack of all trades! I wish I could make more things for my hubby but he's not really the handmade type, so this was sooooo perfect for a gift for him.
Tuesday, July 12, 2011
Makeup!
Let's talk makeup! Makeup is one of my many obsessions! Little in this world can make me as giddy as a trip to the makeup store. I'd say that it is topped only by a trip to the fabric store, obviously!!!! I am a religious makeup wearer. I have every skin malady you could think of. I have adult acne, freckles, uneven skin tone and fine lines. I have used every product in the drug store with varying results and have gotten my acne under control, not cured, just under control. I am a woman of humble means who has five children to support, so you will not find me at the expensive department stores for almost any reason. I need products that I can buy at my local drug store, that deliver the best results for minimal impact on my cute little cheetah print wallet! I will discuss my skin care in another post, this is about makeup. First and most important to my routine is foundation. There is a reason why they call it foundation, it is the cornerstone of your makeup if you have imperfect skin. Some women can get away with light coverage, I can not. I found after extensive youtube video watching, that the Revlon Colorstay got the best reviews for a full coverage drug store foundation. I have tried many foundations that I hated and this is the first one that I absolutely LOVE!!!!!!!!! It offers a wide range of colors, and comes in 2 types. One for oily/combination skin and the other for normal/dry. I use oily/combination , my skin would fall in the combination zone. I have gone through a couple bottles of it and haven't found the perfect shade yet. The first was called fresh beige and was a bit too dark, just a touch, but still. The one I am using now is sand beige and it is just a touch too light, however the shade issues are not too severe to cause me to stop using the foundation till the last drop! The next time I have to buy a bottle I will go for a shade in between those 2 and hopefully find my foundation soul mate! The coverage is full. It covers all of my imperfections and the finish is matte so I don't even need a powder, which is great because I am nearing the big 30 and have fine lines that are more accentuated when I use powder, yuck! During the summer I also use a blush by Rimmel (not the one pictured below) as a bronzer. It is shade 020 spicy nude. I use a little all over and it adds the perfect touch of a summer glow.
This is the blush I use for actual blush. It is Rimmel 006 autumn catwalk. Depending on how you blend the 3 colors this blush can be very deep in color so I go light on it but it is the perfect pink blush in my opinion.
Now we move on to the ever important lip! I wear my lips red most of the time. My makeup look for every day is a retro throwback as I am a retro maven Mama! The red lip is essential to my look. I do change it up from time to time, usually with a pink lip, still pretty bright though. I will occasionally where lighter lip colors for a modern look but not very often. I always start my red lip with lip liner. This helps prevent the color from fading out into my little fine lip lines and keeps the color on my actual lips! I like NYX 817 Hot Red.

Now for the lipstick. There are many good lipsticks out there, these are the ones I have. I really only use one of them all of the time. These are Maybelline's Colorsensational line. The first one I bought was 645 Red Revival. This lipstick makes me feel uncomfortable when I wear it, like it is too dark. It is pretty but I think it clashes with my skin tone. The next 2 are 635 Very Cherry and 640 Ruby star. My favorite is Very Cherry, it is the perfect bright red. These lipsticks have no taste or odor which is important to me. The color is vibrant, moisturizing and pretty long lasting.


Now we move on to the ever important lip! I wear my lips red most of the time. My makeup look for every day is a retro throwback as I am a retro maven Mama! The red lip is essential to my look. I do change it up from time to time, usually with a pink lip, still pretty bright though. I will occasionally where lighter lip colors for a modern look but not very often. I always start my red lip with lip liner. This helps prevent the color from fading out into my little fine lip lines and keeps the color on my actual lips! I like NYX 817 Hot Red.
Now for the lipstick. There are many good lipsticks out there, these are the ones I have. I really only use one of them all of the time. These are Maybelline's Colorsensational line. The first one I bought was 645 Red Revival. This lipstick makes me feel uncomfortable when I wear it, like it is too dark. It is pretty but I think it clashes with my skin tone. The next 2 are 635 Very Cherry and 640 Ruby star. My favorite is Very Cherry, it is the perfect bright red. These lipsticks have no taste or odor which is important to me. The color is vibrant, moisturizing and pretty long lasting.
I have very sparse eyebrows! I can't stress the importance of eyebrow powder in my life! I don't use a pencil because it looks too harsh to me. Powder gives me the perfect natural full look that I want. This powder is one that I got 10 years ago!!!!! It is still going strong! I don't know what brand this is or even if it still exists, but I got it in a mall for maybe $12, it is easily the best money I have ever spent! I use black, because my hair is black and dark brown always looks too light.
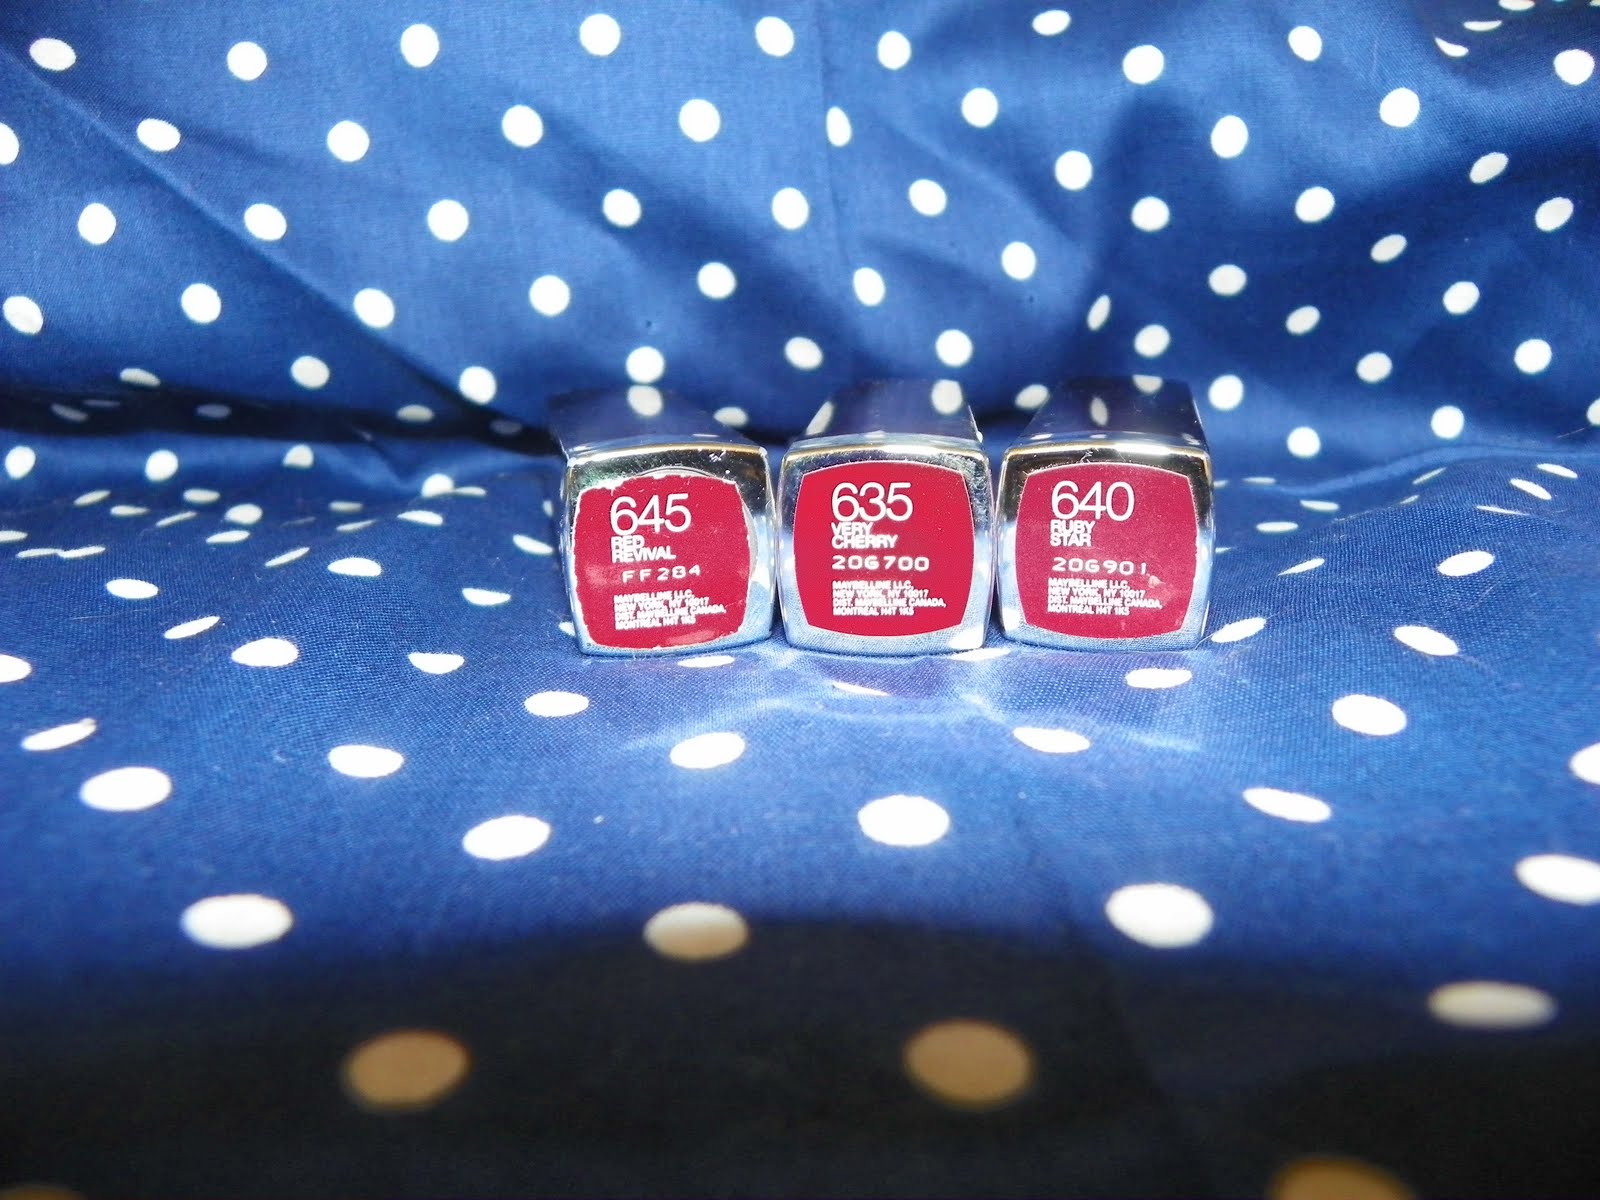
This, my friends is the best mascara!!!!!!!!!!!!!!! It is by Rimmel and is called glam eyes. I naturally have pretty long eyelashes, but this mascara takes them up like 5 notches! It lengthens and separates and darkens them up. This mascara wipes away any crazy Ideas about falsies that I may have! I highly, highly recommend it!
This is the eyeshadow that I use on a daily basis. It is by NYC sparkle eye dust in 893 Champagne. This is a great neutral shade to contrast with my bright lips. It is shimmery and not glittery and goes on smoothly.
Finally, My liquid liner. This is equally as important to my everyday look as my red lip. This liner goes on smoothly and neatly and dark, nice true color. It is LA Splash in 13001 black. I but it at Ulta, for like $6. This liner helps me to make a perfect cat eye for my retro look and makes my dark brown eyes pop!

Well that is it for my makeup regimen. I hope that my recommendations come in handy for your trip to the drugstore! Until later, stay fabulous!!!!!!!!!!!!!!
Friday, July 8, 2011
Etsy Goodies!!!!!!!!!!!!!!!
Look at the goodies I bought on etsy today! I can't wait till they get here and I can sew up something fabulous! The sizing is a little bigger than I actually am, but I can always make things smaller easier rather than make them bigger. I will be making the sleeveless blouse straight away! I think with a gingham, yes. The pattern is described as easy, that sound nice. I am all up for a challenge, but it is nice to do easy every once in a while.
This is the pants/Capri's/shorts pattern that I picked up from the same shop on etsy. They have a great selection and amazing prices! You can check the shop out here http://www.etsy.com/shop/GBVintageSupplies . I really want to make some retro style pants. I love dresses but because I have 5 kids, I tend to wear more pants than anything else. I would love these in a nice stretch poplin or twill. Well that is it for my payday haul. Being short on funds makes my hauls small, but they pack a big punch! Can't wait for them to get here!!!!!!
This is the pants/Capri's/shorts pattern that I picked up from the same shop on etsy. They have a great selection and amazing prices! You can check the shop out here http://www.etsy.com/shop/GBVintageSupplies . I really want to make some retro style pants. I love dresses but because I have 5 kids, I tend to wear more pants than anything else. I would love these in a nice stretch poplin or twill. Well that is it for my payday haul. Being short on funds makes my hauls small, but they pack a big punch! Can't wait for them to get here!!!!!!Wednesday, July 6, 2011
2 Words- Italian Nachos!!!!!!!!!!!!!!!!!!!!!
- Pizza Supreme Doritos
- Shredded Mozzerella
- Pepporoni
- Ragu Pizza sauce
- layer it and put it in the oven at 400 degrees for about 10 minutes
- enjoy!
Here is a yummy food post! Not at all in any way is this healthy eating as that I have spoken about before, but it sure is yummy eating!!!!!!!!!!!!!!!!! This is actually my husbands recipe, I must give him the credit for it. I'm sure it is an already existing recipe, thought up by someone out there somewhere, but here is ours.
Tuesday, July 5, 2011
4th of July
Happy 4th of July Ya'll!!!!!!!!!!!!!!!!!!!!! These cupcakes were a yummy treat, I think I gained a couple of pounds over the holiday weekend with all of the yummy food we ate! I will be putting up a recipe post later, it is a simple one but absolutely to die for!!!!!!!
So I might have gained a couple of pounds but I was still able to get into my shorts that I whipped up for the occassion!. I used a burdastyle pattern for these shorts. This pattern is not free, it costs $5.40 but I felt that it was worth it because I like the style of the shorts and felt I could always change it up and make pants as well with it. They come up right below the true waist. When I make them again I will make the waist band portion bigger so that they are really high waisted. Here is a link to where you can buy this pattern http://www.burdastyle.com/projects/62010-shorts-with-bow
Subscribe to:
Posts (Atom)


